


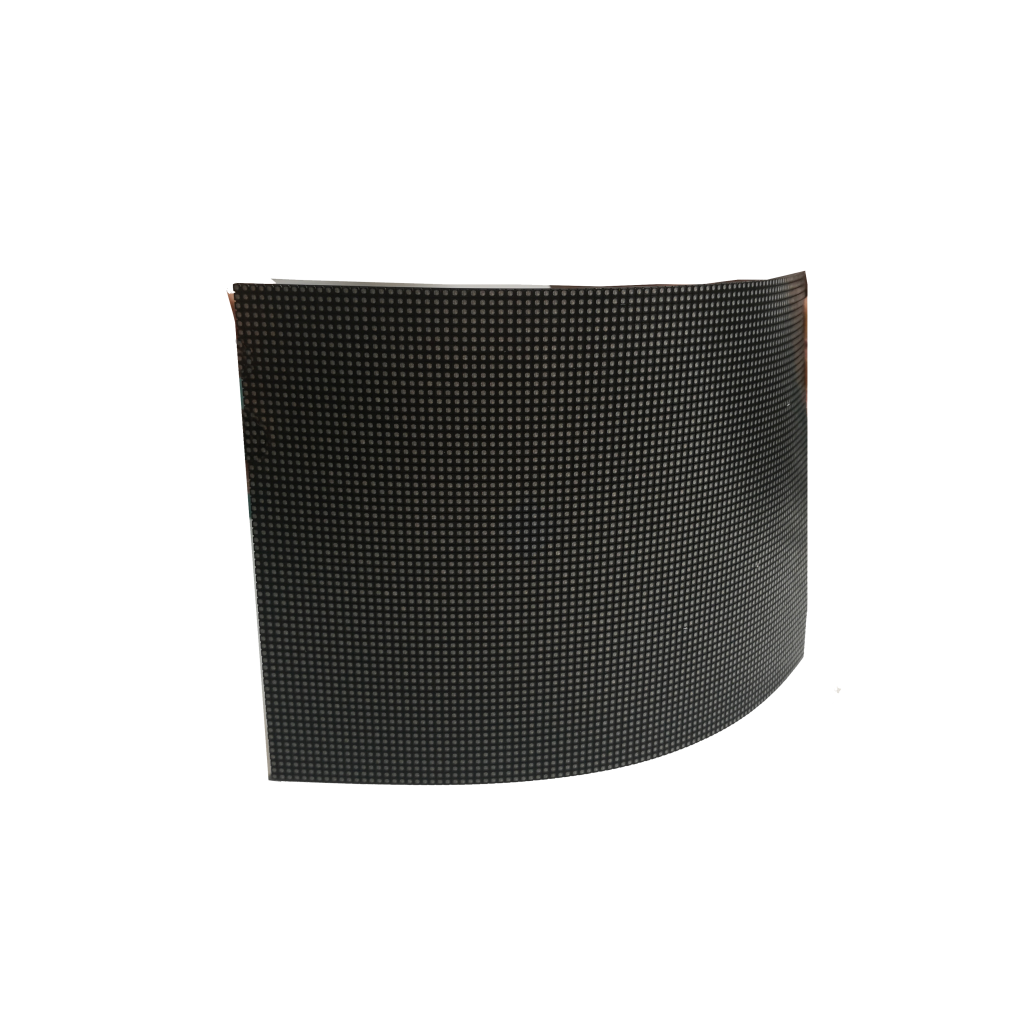


When renting LED video wall panels for events, consider 5 key tips: (1) Choose the right pixel pitch (e.g., P3-P6 for close viewing) based on audience distance; (2) Verify brightness (5,000-7,000 nits for outdoor events); (3) Ensure seamless modular panels for a unified display; (4) Check supplier reliability, including 24/7 technical support; (5) Plan for 10-20% extra panels for backups. Always test the setup before the event to avoid glitches.
Pick the Right Pixel Pitch
A smaller pitch (e.g., P1.9-P3) delivers sharper images for close viewing (under 10 feet), while a larger pitch (P4-P10) works for distant audiences (20+ feet). Choosing wrong can mean blurry visuals or unnecessary costs—renting a P2.5 panel at 25/sqft for a 50ft viewing distance wastes money.
How to Choose the Best Pixel Pitch
A general rule is to divide the minimum viewing distance (in feet) by 10 to get the ideal pitch in mm. For example:
| Viewing Distance | Recommended Pitch | Typical Use Case |
|---|---|---|
| 5-10 ft | P1.9 – P2.5 | Trade show booths, retail displays |
| 10-20 ft | P3 – P4 | Corporate events, concerts (front rows) |
| 20-50 ft | P5 – P6 | Conferences, mid-size stages |
| 50+ ft | P8 – P10 | Stadiums, outdoor festivals |
High-resolution content (4K video, detailed graphics) benefits from tighter pitches (P1.9-P4), while live video feeds or simple animations can use P6+ without quality loss. For rental flexibility, P3-P6 panels are the most common, balancing cost (40/sqft) and versatility.
Indoor vs. Outdoor Needs also matter:
- Indoor panels (P1.9-P6) prioritize brightness (500-1,500 nits) and color accuracy.
- Outdoor panels (P6-P10) need higher brightness (5,000-7,000 nits) and weatherproofing, adding 10-20% to rental costs.
Final Tip: Test Before Renting
A P4 panel might look great on paper, but if your content has small text, a P3 could be worth the extra $5/sqft. Most rental companies offer on-site testing—don’t skip this step.
Pro Tip: If your event mixes close and far viewers, consider a hybrid setup: P3-P4 for front rows, P6-P8 for rear sections. This splits costs while keeping clarity where it matters.

Check Brightness Needs
A 5,000-nit outdoor display would look painfully bright in a dimly lit conference room, while a 1,000-nit indoor panel would be completely washed out under direct sunlight. Getting brightness wrong means wasted money (up to 40% higher rental costs for overpowered displays) or unreadable content (a 70% drop in visibility if too dim). The key is matching nits (brightness units) to your environment and content type.
How Bright Should Your LED Wall Be
Brightness needs break down into three main categories:
- Indoor, controlled lighting (500-1,500 nits) – Best for conference rooms, exhibition halls, and TV studios. A 1,000-nit screen is the sweet spot for most indoor events, balancing energy efficiency and visibility. Going above 1,500 nits indoors can cause eye strain and higher power consumption (up to 30% more) without real benefits.
- Indoor, mixed lighting (1,500-3,500 nits) – Needed in shopping malls, airport terminals, or venues with large windows. If sunlight hits the screen, 2,500 nits prevents washout. However, these panels cost 15-25% more to rent than standard indoor models.
- Outdoor, direct sunlight (5,000-7,000+ nits) – Essential for festivals, stadiums, and roadside billboards. Below 5,000 nits, sunlight overpowers the display, reducing clarity by 50% or more. High-brightness outdoor panels also need active cooling, adding 10-20% to power costs.
Brightness vs. Content Type
Static graphics and spreadsheets need higher nits (1,500+) for readability, while video content can often run 20-30% dimmer without losing impact. Some rental providers offer auto-brightness adjustment, which saves 5-10% on energy by dimming the screen when ambient light drops.
Power & Heat Considerations
A 6mm outdoor LED panel running at 7,000 nits can consume 800W per sqm, compared to 300W per sqm for a 1,500-nit indoor panel. If your venue has limited power supply, check whether the display can run at lower brightness without flickering.
Pro Tip: A 3,000-nit display might seem fine in a warehouse but look too dim under midday sun. Most rental companies provide brightness meters—use them.
Cost vs. Brightness Trade-Off
- Standard indoor (1,000 nits) → 35/sqft
- High-brightness indoor (2,500 nits) → 50/sqft
- Outdoor (5,000+ nits) → 80/sqft
If your event runs after sunset, you can often reduce brightness and save 10-15% on rental fees. Always confirm if the provider offers dynamic brightness control.
Final Advice: A 2,500-nit semi-outdoor screen might cost $10/sqft less than a 5,000-nit model and still work perfectly under a tented stage. Match brightness to real conditions, not specs on paper.
Ensure Seamless Panel Fit
But achieving this requires more than just tight physical connections; it demands precise calibration, uniform panel batches, and proper mounting techniques. A 1mm bezel misalignment or 5% brightness variance between panels can create distracting grid lines, ruining immersion. For high-end events, seamless integration isn’t optional—it’s what separates professional setups from amateur installations.
Key Factors for a Flawless Display
Panel Consistency is critical. LED walls are built from modular panels, typically 500x500mm or 1000x1000mm in size. If panels come from different production batches, even slight color temperature shifts (200-300K difference) or brightness inconsistencies (10-15% variance) become obvious. Always request panels from the same manufacturing lot—most rental companies track this via serial numbers.
Traditional LED panels have 1-3mm bezels, creating faint grid lines. For seamless displays, fine-pitch LED (under P2.5) or cabinets with near-zero bezels (0.5mm or less) are ideal. If bezels are unavoidable, proper alignment during installation reduces visibility. A 1-degree tilt in one panel can make seams 50% more noticeable from certain angles.
Even identical panels can show 5-10% brightness differences out of the box. Professional calibration tools (like Klein K-10A colorimeters) adjust each panel to within 2% brightness/color uniformity. Without this step, darker corners or warmer/cooler patches may appear. Some rental providers charge 100 per panel for advanced calibration—worth it for high-profile events.
Installation & Structural Support
LED panels mounted on uneven trusses or flexible frames can develop 0.5-2mm gaps under tension. For large installations (50+ panels), rigid aluminum frames or custom-built rigging keeps alignment within ±0.3mm tolerance.
LED panels can expand 0.1-0.2mm per 10°C temperature rise. In outdoor settings (30°C to 50°C swings), this means 1-3mm cumulative gap shifts. Pre-tensioned mounting systems or expansion joints help compensate.
Testing Before the Event
For critical applications (e.g., broadcast backdrops), use test patterns to check:
- Pixel-level alignment (no “staircasing” on diagonal lines)
- Gamma uniformity (consistent brightness across grays)
- Viewing angle performance (no color shift at 45+ degrees)
Pro Tip: LED panels lose 0.5-1% brightness per 1,000 hours of use—older panels may not match newer ones, even after calibration.
Cost vs. Seamlessness Trade-Off
| Solution | Tolerance | Cost Impact | Best For |
|---|---|---|---|
| Standard rental panels | ±1mm gaps | +$0 (baseline) | Budget events, background displays |
| Pre-calibrated panels | ±0.5mm gaps | +50/panel | Corporate stages, live streams |
| Fine-pitch/custom rigging | ±0.2mm gaps | +200/panel | Broadcast, high-end productions |
Final Advice: For most events, pre-calibrated P3-P4 panels with rigid framing offer the best balance. But if your audience is within 10 feet (e.g., product launches), invest in fine-pitch (P1.9-P2.5) with zero-bezel cabinets. A single visible seam can distract from even the most stunning content.
Verify Supplier Support
A 5% failure rate in LED modules might sound low, but with a 200-panel wall, that’s 10 dead panels needing immediate replacement. The difference between a smooth event and a last-minute disaster often comes down to your supplier’s response time, technical expertise, and backup inventory. A vendor offering 24/7 support with 2-hour onsite response might cost 15-20% more, but it’s cheaper than losing $10,000 in ticket refunds because your screen failed mid-show.
What Real Supplier Support Looks Like
A supplier promising ”24/7 support” could mean anything from a live video call with a technician to an automated email ticketing system. For critical events, insist on at least one certified technician onsite for every 50 panels. They should carry 3-5% spare panels (not just modules) and calibration tools—not just a basic toolkit.
Backup Equipment Availability separates serious suppliers from box-movers. Ask:
- How many identical replacement panels are in local inventory? (Fewer than 10% of your total panel count is risky.)
- Is there backup processing equipment? (A single Novastar H9 controller failure can take down an entire wall.)
- What’s the maximum downtime if something breaks? (More than 30 minutes for critical failures is unacceptable for live events.)
Pre-Event Testing Protocols prevent surprises. A proper supplier will:
- Run a 72-hour burn-in test on all panels before delivery (catches 95% of infant mortality failures)
- Provide color calibration reports for each panel (showing <3% brightness variance)
- Conduct a full-system test at your venue 48 hours before the event
Hidden Costs of Poor Support
Cheap rentals often skimp on support, leading to:
- 1,000/hour labor costs for emergency techs (if you can find one)
- 2-5% additional panel rentals to cover unexpected failures
- 15-30% longer setup times due to uncalibrated equipment
Pro Tip: Check the supplier’s maintenance logs for their rental stock. Panels with >5,000 operating hours have 3x higher failure rates than those under 2,000 hours.
Order Extra Panels
Industry data shows a 3-7% failure rate on LED panels during typical events—meaning a 100-panel wall has a 92% chance of at least one module failing. Yet nearly 40% of renters still don’t budget for spares, risking $5,000+ in downtime costs per hour for major productions. Smart planners treat spare panels like insurance: paying 10-15% extra upfront beats losing 100% of your display during peak moments.
Calculating Your Spare Needs
The right number of extras depends on three factors:
- Panel Age & Usage
New panels (<500 hours) fail at 1-2% rates, while heavily used ones (>5,000 hours) jump to 5-8%. Always ask suppliers for:
- Hour counts (via panel diagnostics)
- Previous rental history (events/week)
- Maintenance records (last calibration/service)
- Event Criticality
A corporate keynote demands more redundancy than a backstage auxiliary screen:
- Standard events: 5% spares (1 extra per 20 panels)
- High-profile/live broadcasts: 10-15% spares
- Outdoor/extreme conditions: 15-20% spares
- Failure Impact
Consider:
- How fast can techs replace a dead panel? (Under 10 minutes needs fewer spares)
- Is your layout modular? (Some designs require shutting down entire sections)
- Content flexibility (Can you mask failures with camera angles?)
The Hidden Math of Spares
While adding 5 extra panels to a 100-panel order costs 2,500 (at 500/panel), compare that to:
- $15,000+ for emergency after-hours tech support
- $50,000+ in reputational damage for a failed product launch
- $7,500/day for last-minute replacement rentals
Pro Tip: Negotiate discounted spare rates (often 30-50% off main rental fees) by committing early. Many suppliers will include 5% spares at no charge for large orders.
Storage & Access Logistics
Where you keep spares affects response time:
- Onstage: <2 minute access but clutters space
- Backstage: 5-10 minute retrieval
- Offsite: Useless for urgent failures
A 16-panel wall might need just 1 spare nearby, while a 400-panel stadium display requires 20+ spares distributed around the venue.
When to Skip Spares
You might safely reduce spares if:
- Using brand new panels (first 3 rentals)
- Having identical backup walls onsite
- Running short durations (<4 hours)
- Showing low-resolution content (where single-pixel failures don’t matter)
But remember: That 97% success rate still means 3% of your screen could go dark at the worst moment.
Final Advice: The extra $10/sqft is cheap compared to explaining why your CEO’s big reveal happened on a patchy, half-lit display.


![How to Choose a Flexible LED Display [Buyer's Guide]](https://www.szradiant.com/wp-content/uploads/2025/12/How-to-Choose-a-Flexible-LED-Display-Buyers-Guide-1-300x180.jpg)


