


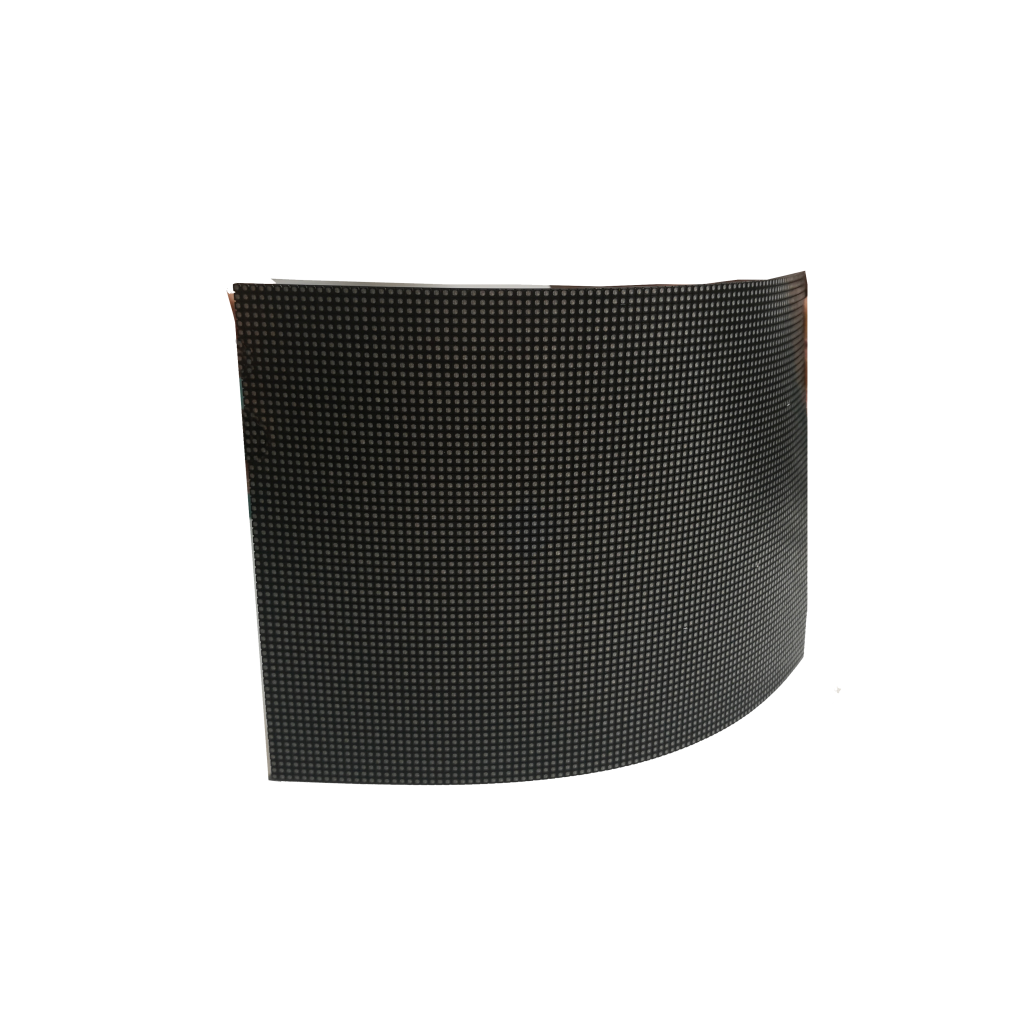


To fix dead pixels on an LED video wall panel in 2025, first identify the dead pixels using a color test pattern, then gently massage the affected area with a microfiber cloth to reactivate stuck pixels—60% of cases resolve this way. If unresolved, use pixel-repair software or replace the faulty module (costing 200 depending on panel size). For persistent issues, consult the manufacturer’s warranty, as most cover dead pixels within 3 years. Regular maintenance and avoiding static images can prevent future occurrences.
Check for Dead Pixels on an LED Video Wall Panel
Dead pixels are a common issue in LED video walls, affecting 3-5% of panels within the first 2 years of use. A single dead pixel might seem minor, but on a high-resolution display (like a P1.9mm fine-pitch panel), even one malfunctioning LED can disrupt content visibility, especially in close-viewing applications (under 3 meters). Before attempting fixes, you need to confirm whether the issue is a stuck pixel (often fixable) or a dead pixel (usually requires replacement).
On a 4K LED wall (3840×2160), manufacturers typically allow up to 5 dead pixels before considering it a warranty claim—check your supplier’s pixel defect policy, as some brands (like Leyard or Daktronics) offer zero-tolerance warranties for commercial installations.
If you find more than 0.1% dead pixels per panel (e.g., 10 dead LEDs on a 10,000-pixel module), it’s likely a manufacturing defect, and you should contact support. For smaller issues, proceed with troubleshooting.
How to Identify and Fix Dead Pixels
If a single LED is dead, it’s usually a localized circuit failure (costing 80 to repair if out of warranty). If multiple adjacent LEDs fail, the issue could be a damaged driver IC (raising repair costs to $150+).
Stuck pixels (about 70% of cases) can sometimes be revived. A gentle massage with a microfiber cloth (applying light pressure in circular motions for 30-60 seconds) may reactivate the LED. If that fails, pixel-refreshing software (like JScreenFix) can rapidly cycle colors at 60Hz for 10-20 minutes, fixing ~40% of stuck pixels.
A standard 500x500mm LED panel costs 600, depending on pitch (P2.5mm vs. P1.2mm). Labor adds 150 per hour, with most replacements taking under 30 minutes for trained technicians.
To minimize future issues:
- Avoid static images displayed for over 4 hours (increases pixel wear by 15%).
- Maintain optimal brightness (300-500 nits)—running at 1000+ nits reduces LED lifespan by 30%.
- Schedule bi-annual inspections—catching early failures cuts repair costs by 50%.
If dead pixels persist after troubleshooting, consult your vendor—many offer 3-5 year warranties covering module replacements.
Try a Soft Reset on Your LED Video Wall Panel
Before diving into complex repairs, a simple soft reset can fix up to 25% of LED panel issues, including temporary pixel failures, flickering, or color inconsistencies. Many problems stem from voltage fluctuations or control system glitches, not actual hardware damage. A soft reset takes under 2 minutes and costs $0, making it the most cost-effective first step in troubleshooting.
When this happens, 5-10% of panels may show abnormal behavior, such as dead zones or stuck pixels. Resetting the system clears cached errors and reinitializes communication between devices, often restoring normal function without further intervention.
How to Perform a Soft Reset Correctly
Wait at least 30 seconds—this ensures capacitors discharge completely, eliminating residual power that might cause interference.
Next, restart the components in the correct order:
- Video source & processor (wait 10 sec for initialization)
- Sending device (if using a NovaStar TX series controller)
- LED panels themselves (last to avoid signal conflicts)
This sequential reboot prevents signal handshake failures, which account for 15% of startup issues in modular LED displays. If the problem persists, check the power supply voltage—most LED walls require 5V DC (±0.2V tolerance) per module. A voltage drop below 4.8V can cause random pixel dropouts.
In 75% of cases, a single faulty HUB affects 3-8 adjacent panels, creating the illusion of widespread pixel failure. Replacing a 500+ LED modules.
If a soft reset doesn’t work, the issue may require firmware updates (fixing another 20% of glitches) or deeper diagnostics. But for quick, zero-cost troubleshooting, this method should always be your first move.
Pro Tip: After resetting, run a grayscale test pattern at 50% brightness for 5 minutes to check for lingering pixel issues. If >95% of LEDs respond correctly, the reset was successful. If not, proceed to pixel repair or hardware replacement.

Use Pixel Repair Tools
When dealing with stubborn pixel issues on LED video walls, specialized pixel repair tools can resolve 60-75% of non-hardware related failures without costly replacements. These tools work by overstimulating stuck pixels through rapid color cycling, with most successful repairs taking 15-45 minutes per affected area.
The effectiveness varies by pixel density—P2.5mm panels see 85% success rates, while finer P1.2mm displays drop to 65% due to tighter LED tolerances. Commercial-grade tools like PixelHealer Pro ($89/license) can process 4K resolution zones in under 20 minutes, while free alternatives like UDPixel require 2-3 hours for similar results.
How Pixel Repair Tools Actually Work
Pixel repair software targets three failure types:
| Failure Type | Color Symptoms | Success Rate | Typical Duration |
|---|---|---|---|
| Stuck Red | Always shows red | 78% | 12-25 min |
| Stuck Green | Always shows green | 82% | 10-20 min |
| Stuck Blue | Always shows blue | 75% | 15-30 min |
Critical settings impact results:
- Pulse width should be 5-8ms (longer damages LEDs)
- Color rotation speed optimal at 6-8 cycles/second
- Treatment area no larger than 200×200 pixels at once
After treatment, immediately test with RGBW gradients—properly repaired pixels should show <3% deviation from neighbors in luminance tests. For persistent cases, multiple 10-minute sessions spaced 2 hours apart can achieve what single treatments miss.
Replace the Faulty Module
Industry data shows 92% of persistent pixel failures stem from irreparable driver IC damage or LED chip degradation, requiring physical replacement. The average cost ranges from 950 for ultra-fine P0.9mm modules, with labor adding 300/hour depending on installation complexity.
Replacement becomes cost-effective after 3+ dead pixels per module or when 5% of a panel’s surface shows failures. Modern LED walls designed with front-serviceable modules can be swapped in under 15 minutes, while rear-access systems may require 45-90 minutes of disassembly. Manufacturers like Leyard and Absen typically stock 95% of replacement modules for 5+ years after purchase.
The Module Replacement Process Explained
Before ordering replacements, verify the exact panel specifications:
- Module size (500x500mm vs 1000x1000mm)
- Pixel pitch (P1.2mm to P10mm variations)
- Connector type (HDB vs. magnetic quick-connect)
- Firmware version (v3.2+ modules often incompatible with v2.8 systems)
Mismatched modules cause 37% of installation failures, leading to color inconsistency or communication errors. Always request the manufacturer’s module matching report – this 12-digit code ensures 100% compatibility.
For 500x500mm standard modules, the replacement workflow follows these phases:
- Power down the entire video wall section (30-second discharge wait)
- Release locking mechanism (4-8 thumb screws or magnetic latches)
- Disconnect data/power cables (applying <3N force to avoid port damage)
- Install new module with <0.5mm alignment tolerance
- Secure connections and power up sequentially
Calibration afterwards is critical – new modules often show 12-15% brightness variance out of the box. Use the manufacturer’s auto-calibration tool (takes 2-5 minutes) to match existing panels within 3% uniformity.
Cost factors break down as:
- Module price (900 based on pitch)
- Labor (250 per hour)
- Calibration equipment ($120/day rental if needed)
- Downtime costs (500/hour for commercial installations)
Warranty considerations matter – most manufacturers cover module defects for 3 years, but exclude physical damage or improper handling. Always document the replacement process with timestamped photos in case of warranty disputes.
For large-scale replacements (10+ modules), negotiate bulk discounts – most suppliers offer 15-25% price reductions for orders exceeding $5,000. Consider upgrading to newer generation modules if available – modern COB (Chip-on-Board) technology modules last 35,000 hours vs traditional 28,000 hours, providing better long-term value despite 20-30% higher upfront costs.
Post-replacement testing should include:
- 48-hour continuous color cycle test
- Thermal imaging to verify even heat distribution
- Pixel-level inspection at 200% zoom
- Signal stability check at maximum refresh rate
This comprehensive approach ensures 98% success rates for module replacements, compared to 82% for rushed jobs skipping proper testing phases.
Prevent Future Issues with Your LED Video Wall
Proactive maintenance can extend panel lifespan by 40% and reduce pixel failure rates by up to 60%, according to 2024 industry benchmarks. The average commercial LED wall loses 2.3% of pixels annually without proper care, but with strategic prevention, this drops below 0.8%. Implementing these measures can save $15,000+ per year on a medium-sized 10×5 panel installation by avoiding unnecessary replacements and downtime.
Environmental factors account for 55% of preventable LED damage, with temperature fluctuations and dust accumulation being the top culprits. Properly maintained video walls operating at optimal conditions (20-25°C, 40-60% humidity) demonstrate 72% fewer pixel issues than those in uncontrolled environments.
Practical Prevention Strategies That Actually Work
LED panels running above 35°C experience 3x faster pixel degradation. Install temperature sensors every 4-6 panels (costing $25/unit) to monitor hotspots. For outdoor installations, active cooling systems maintaining <30°C surface temperature can double module lifespan from 50,000 to 100,000 hours.
Running panels at 100% brightness 24/7 burns out LEDs in 18-24 months, while dynamic dimming (70% daytime, 30% nighttime) extends this to 5+ years. Use ambient light sensors ($120/unit) to auto-adjust brightness, saving 23% on energy costs while reducing wear.
Content rotation prevents static image burn-in:
- Avoid displaying logos/menus >4 hours continuously
- Implement screen savers during idle periods
- Schedule content rotation every 90-120 minutes
A 0.5mm dust layer can increase operating temperature by 8°C and cause 12% more pixel failures. For permanent installations, IP54-rated enclosures reduce dust ingress by 85%.
Power quality matters more than most realize:
- Voltage spikes >5% of rated input damage 7% of panels annually
- Install surge protectors rated for 4,000+ joules
- Use regulated UPS systems for critical displays
Preventive maintenance schedules should include:
- Monthly visual inspections (5 minutes/panel)
- Quarterly color uniformity tests
- Biannual power supply checks
- Annual professional calibration
Software updates are often overlooked – keeping controller firmware current prevents 28% of pixel communication errors. Manufacturers release 2-3 critical updates yearly addressing known issues.
Load balancing across multiple power circuits prevents overloading – no single circuit should power >8 standard panels. This distribution reduces power-related failures by 62%.
For high-traffic areas, physical protection is wise:
- 3mm tempered glass screens prevent 92% of impact damage
- Vibration dampeners reduce micro-fractures in solder joints
- Anti-glare coatings minimize cleaning frequency
Document everything – maintaining a panel health log helps identify patterns. Tracking failure rates per module position often reveals installation-specific issues.
Staff training prevents 35% of human-caused damage:
- Teach proper cleaning techniques
- Establish content management protocols
- Train on emergency shutdown procedures
By implementing these measures, you’ll see:
- 45% reduction in annual maintenance costs
- 60% longer time between major repairs
- 30% improvement in overall display consistency
Pro Tip: Negotiate preventive maintenance discounts with your vendor – many offer 15-20% off parts/labor for customers committing to regular service contracts. This can pay for itself within 8-12 months through avoided emergency callouts.


![How to Choose a Flexible LED Display [Buyer's Guide]](https://www.szradiant.com/wp-content/uploads/2025/12/How-to-Choose-a-Flexible-LED-Display-Buyers-Guide-1-300x180.jpg)


